BooknRide On Demand App Graphical Flow
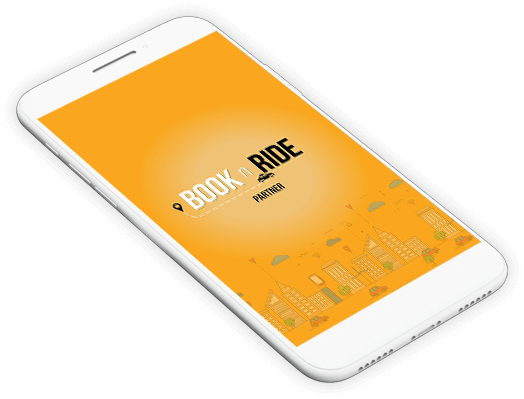
BooknRide - On Demand Taxi Booking App Introduction Screen
This will be the landing screen when the user lands on the app for the first time and we will consider it for "BooknRide Partner App".
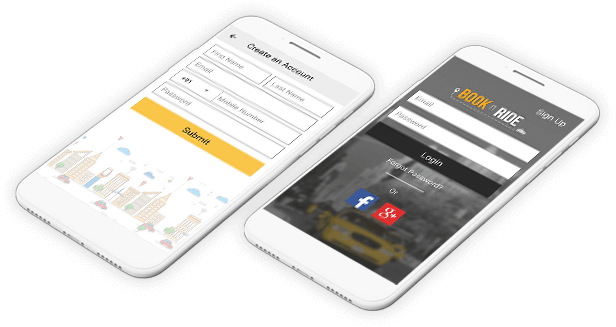
Partner Sign up/Login Screen
Partner will be able to sign up by filling the basic details such as First name, Last name, Email id , mobile number and password, further will be able to submit the details and after he/she activates his/her account from registered email id, a partner will be able to log in successfully.
The user will be able to login with registered email id and password,, also users have the facility to login via social media such as Facebook and Google+.
BooknRide - On Demand Taxi Booking App Home Screen (partner)
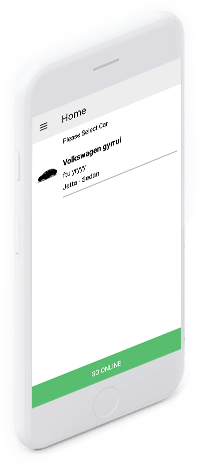
Once the user is logged in as Partner he/she will be able to select the car, which is been added by him from his dashboard on the left-hand side screen and Partner he/she will go online or offline right-hand side.
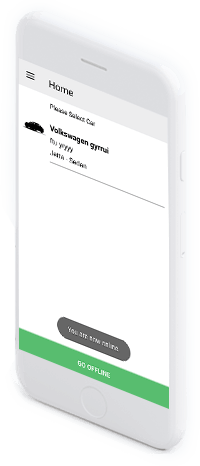
- Partner he/she will be able to select the car, which is been added by him from his dashboard.
- Partner he/she will be decided to go online or offline.
My Profile (partner)
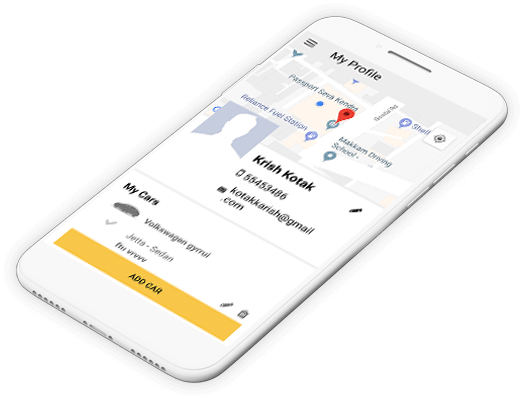
Partner profile will contain the following details.
Partner will be able to edit the profile details as well as add his/her cars.
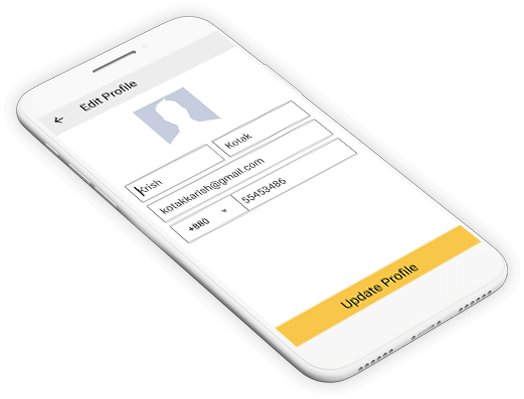
Edit Profile Screen (partner)
Partner will be able to Edit profile image, full name, email address and contact number, further, he/she can update the profile from this screen.
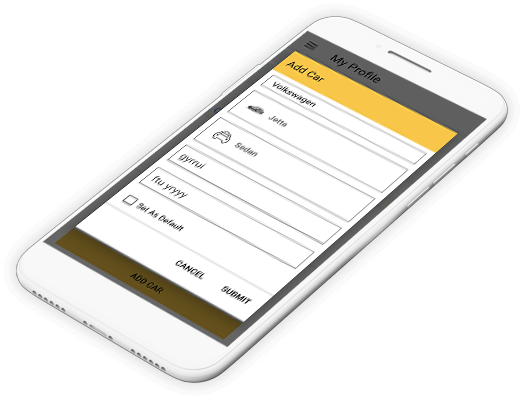
Add Car Screen (partner)
- Enter car number
- Set as default user will be able to set any car added as default
- partner will then be able to submit/cancel the details
Account Setting For Both (common for both)
- 1User will be able to update the password with the details such as old password, new password and confirm the password.
- 2User will be able to enter the contact number used as panic contact number, in case of call in an emergency.
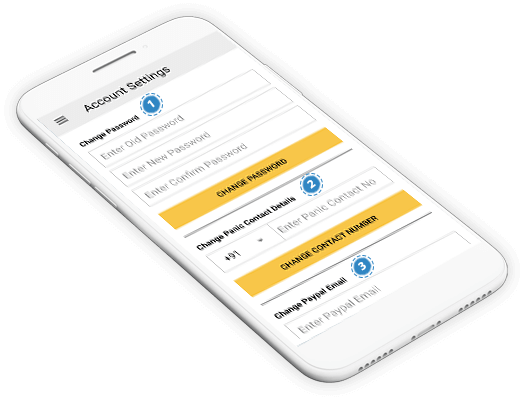
- 3 User needs to enter the PayPal email id in his/her account
BooknRide - On Demand Taxi Booking App Introduction Screen (customer)
This will be the landing screen when the customer lands on the app for the first time and we will consider it for "BooknRide App".
App Home Screen For (customer)
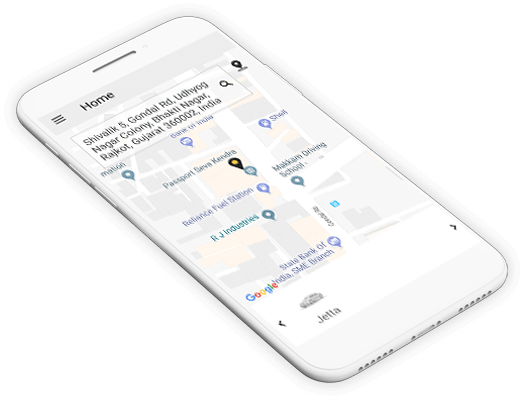
Users such as customers will be able to view the address, which he/she has saved as default on the homepage.
My Profile (customer)
- 1User as a customer will be able to edit the profile with the details such as Name, Contact number and Email id.
- 2Customer can choose the preferable Payment method.
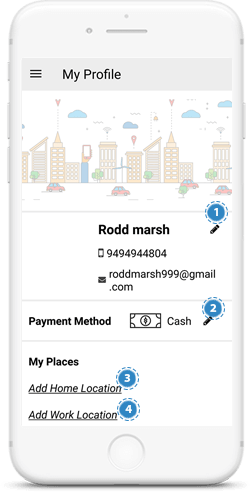
- 3 Customers will be able to set the home location, by pinpointing from the map.
- 4 Customers will be able to set work location, by pinpointing from the map.
Home Screen to Book a Ride (fare calculation & Booking)
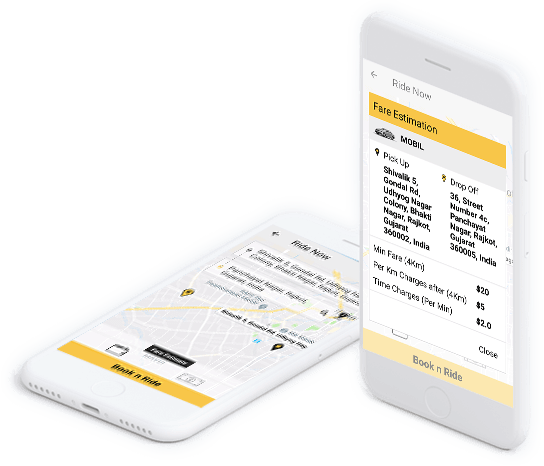
In order to book the ride, customer needs to enter the pickup and drop off location from the map.
Customer can select any payment method, such as wallet or cash.
When the user clicks on fare estimation button he/she will be able to view the estimated fare details according to pick up and drop off location.
Home Screen to Book a Ride (pickup and drop off location)
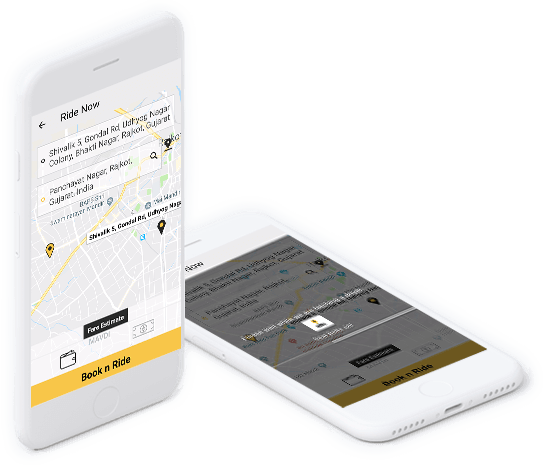
By clicking on Book n Ride button, this screen will appear and which shows the customer a message such as "please wait while we are fetching a driver.
Screen For Ride Request (partner)
A partner who is in nearby location will be able to view the ride request on his/her dashboard.
Partner has to accept/reject the ride within 30 seconds and timer will be shown to the driver.
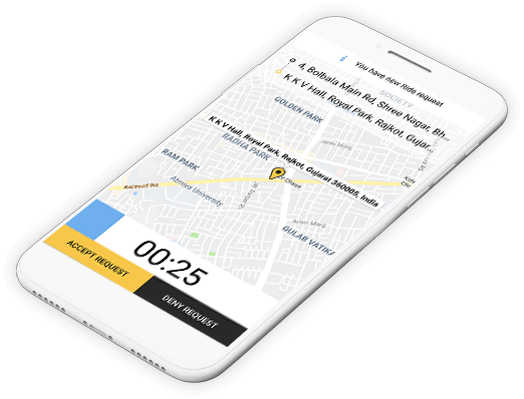
Screen Post Acceptance of Ride (partner)
Once the Ride request will be accepted, the partner will be able to see the screen below
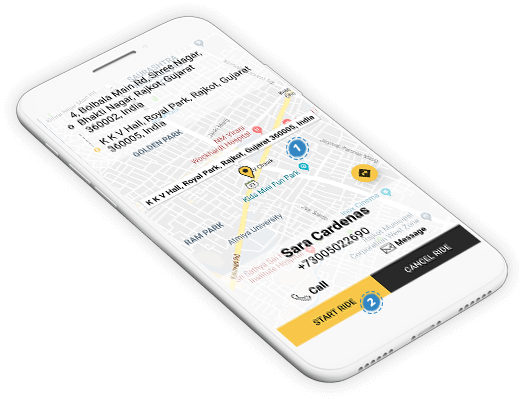
- 1 Upon accepting the Ride request, the partner will be able to view pick up and drop off location and customer details, the partner can further call or message the customer.
- 2 Once the Partner reaches the pick-up location of the customer, he/she can start the Ride.
Screen Post Ride is Accepted/Cancelled by the Partner (customer)
Home screen to book a ride For fare calculation and Booking for the customer.
It shows the message such as ride is accepted/cancelled by the partner.
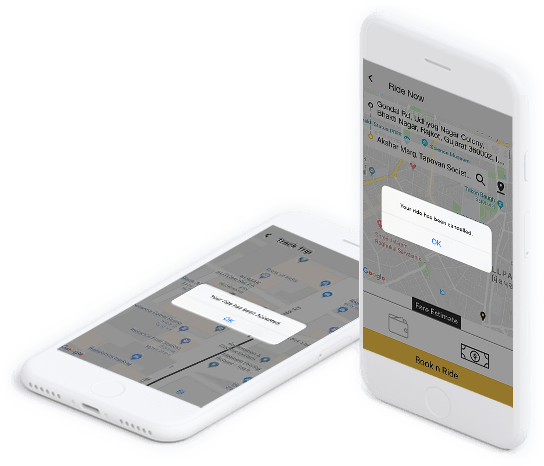
Screen After Ride is Accepted by the Partner (for both)
Once the Ride request will be accepted, the partner will be able to see the screen below.
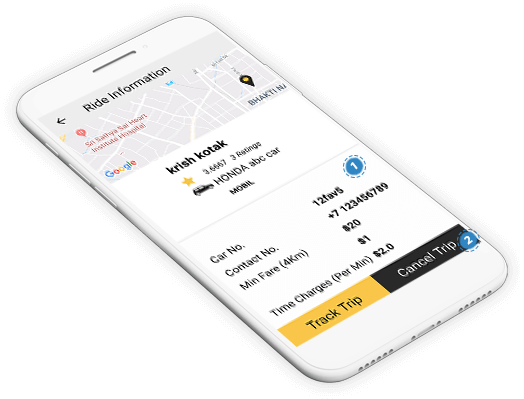
- 1 Once the Ride is accepted, the customer will be able to track the Driver and view Driver details such as name, ratings and his/her car. details, Estimated Arrival of time, as well as fare summary.
- 2 Customer will also be able to cancel the trip.
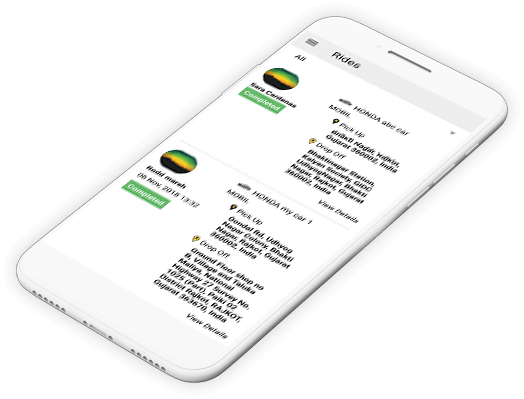
Partner Ride Notification Screen (waiting ride status)
- This notification will be shown to partner, till the customer starts the ride from his/her app.
Start Ride Screen For Customer
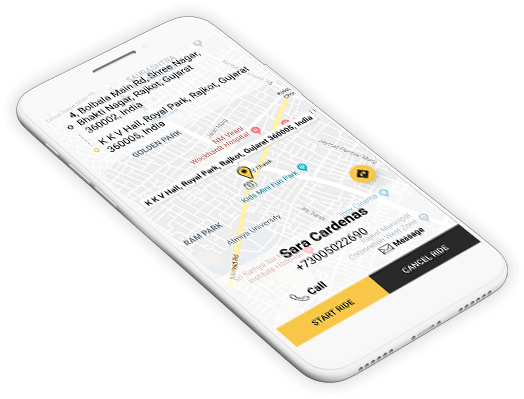
Customer will be able to start the ride or cancel the ride from his/her app.
Driver or Partner Track Trip Screen (customer/partner)
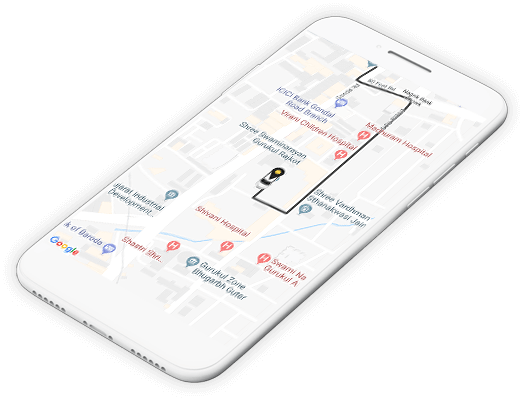
- Customer and partner will be able to track the whole trip along with the partner on the google map.
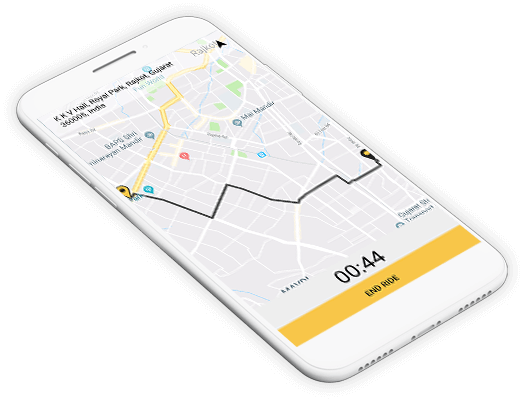
Driver or Partner Will End the Ride Screen (partner)
The Ride route will be shown on the map and, the timer will also be displayed with the button of End Ride.
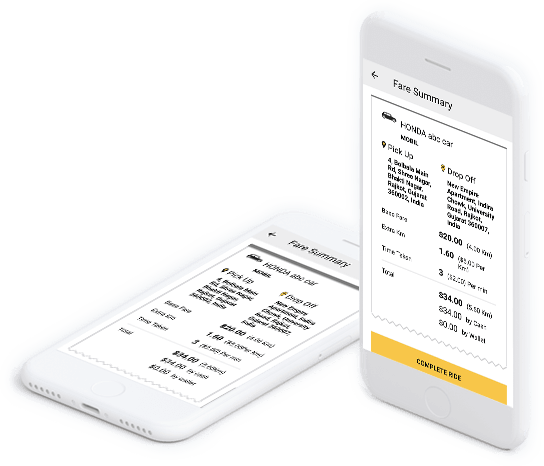
Fare Summary Screen For Both (partner and customer)
Customer and partner will be able to track the whole trip along with the partner on the google map.
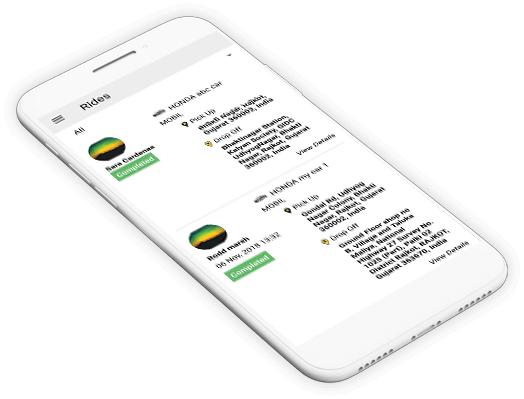
Ride Status Complete Notification Screen For Both Partner and Customer
Ride status-completed will be shown to both partner and customer once the ride will be completed.
Ride Detail Screen For Partner/Customer
It contains details such as pick up and drops off location, partner details, base fare details and also customer will be able to rate the driver from 5 stars with description.


